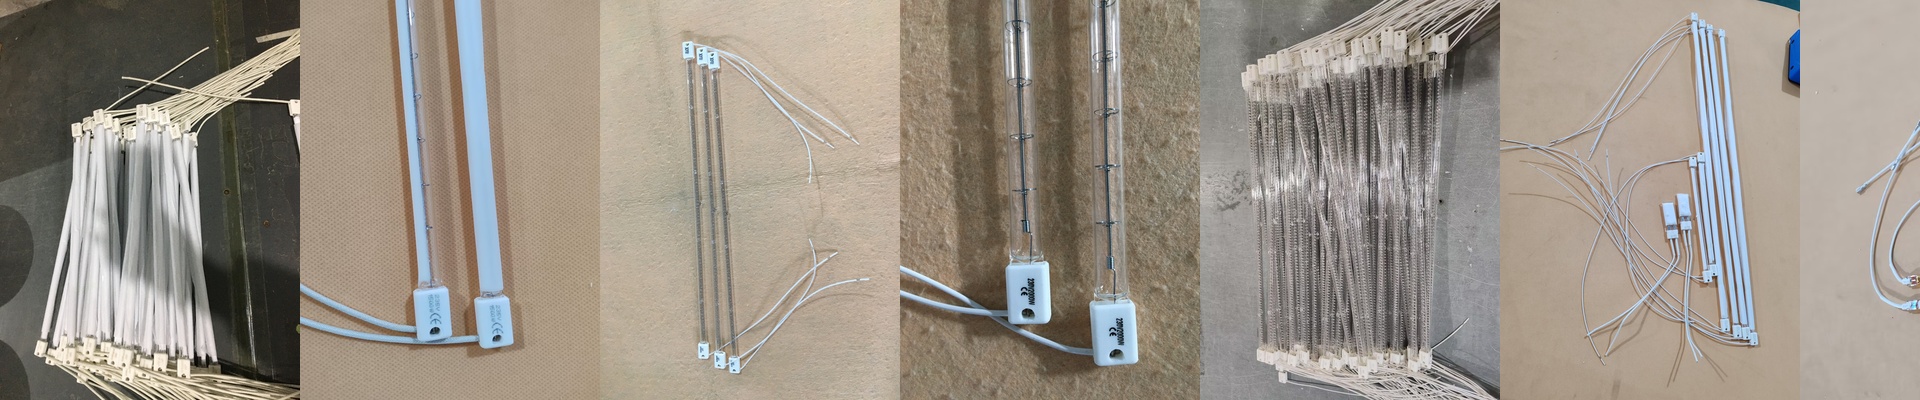
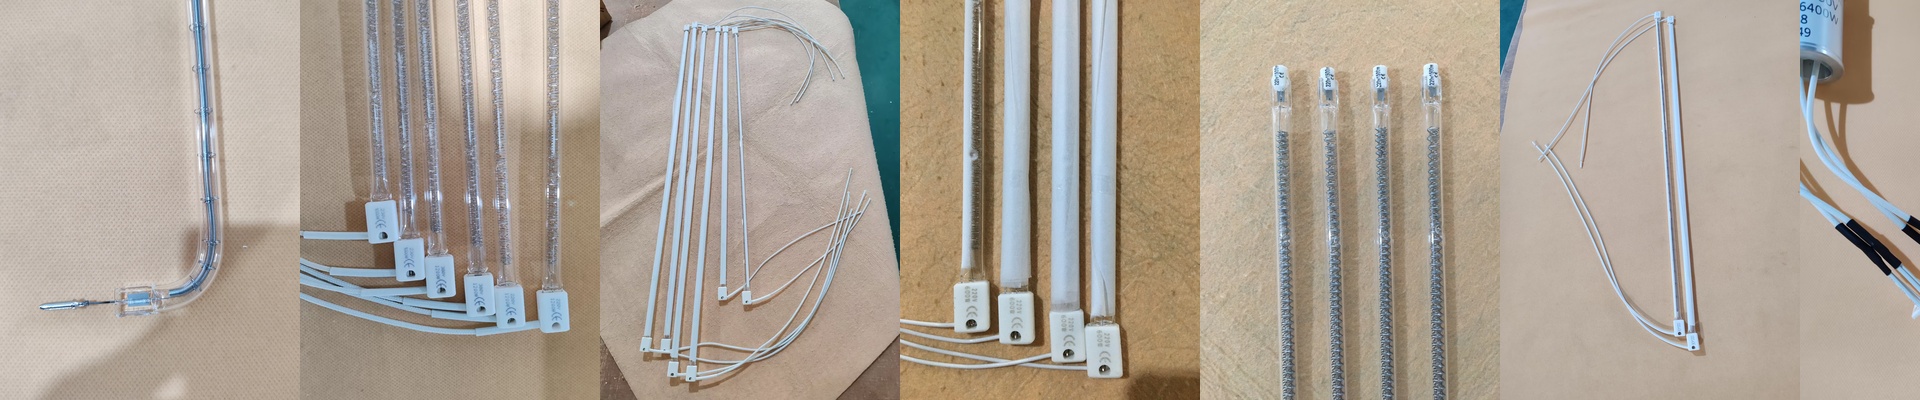
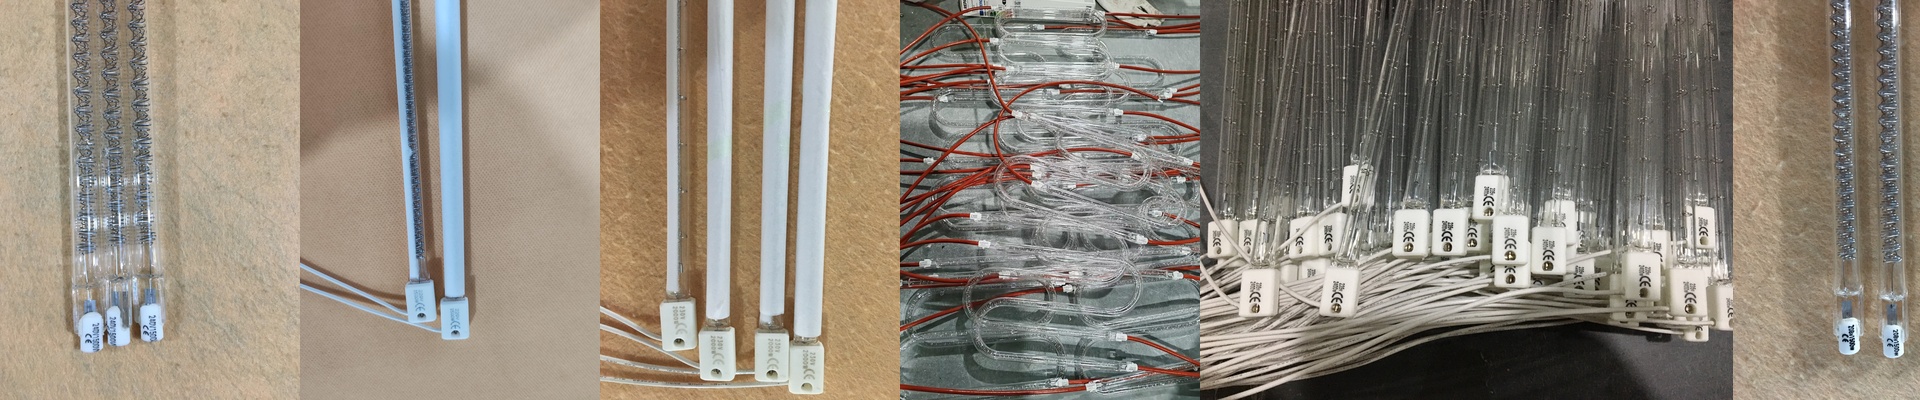
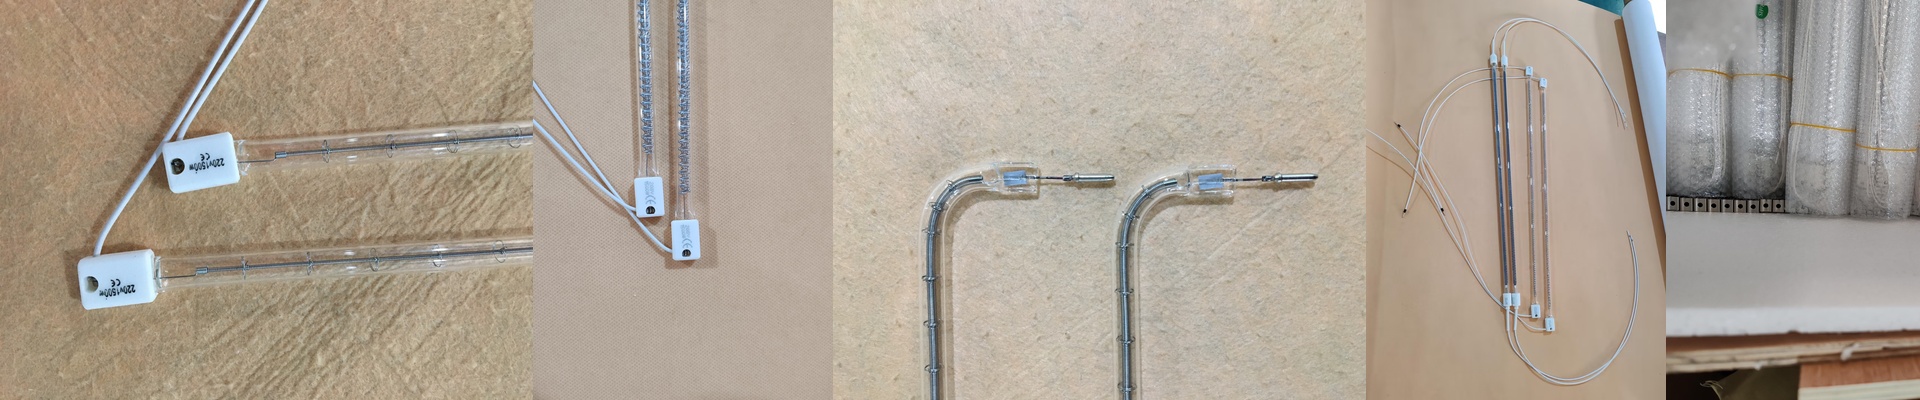
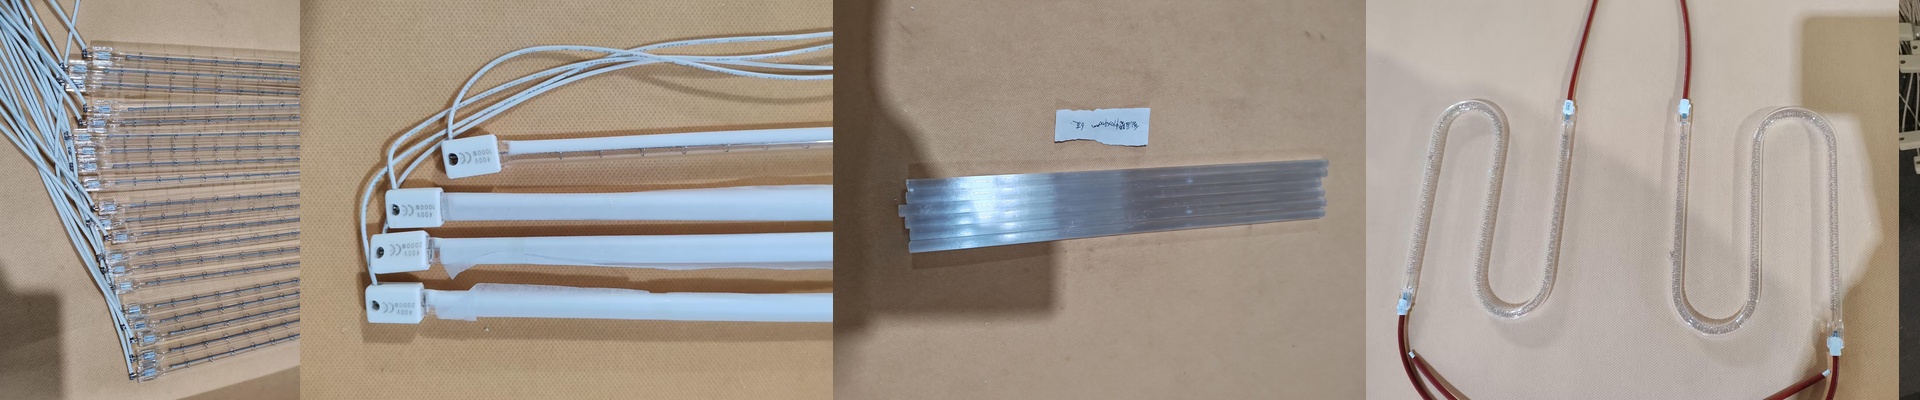
How we actually built our industrial IR curing lamps
For ten years, we played the middleman. We sold white-label lamps from other people’s factories, but it never felt right. We wanted the same punch and stability as the big-name international brands, but without the “luxury” price tag that usually comes with them. So, we stopped outsourcing and started designing.
Getting the heat right
Here’s the thing: a curing lamp isn’t just a big heater. It’s more like a precision tool for chemistry. We went with short-wave IR emitters because they actually dig deep into the coating. If you cram more wattage into a shorter tube, you get a massive jump in heat flux. That’s great because it means you can crank up the speed of your conveyor line and get more parts out the door. But there’s a catch. High-density tubes get scary hot. If your housing isn’t venting properly, you’re looking at warped reflectors or fried wiring. It’s a balancing act.
The nitty-gritty stuff
To stop the glass from cracking under the heat, we use high-purity quartz. We also add specific coatings to the tubes. Think of it like a filter; it blocks the useless wavelengths and pushes all the energy exactly where the paint or powder needs it. As for the connectors, we use R7s or Sk15. They aren’t flashy, but they work. They give you a tight electrical connection that won’t arc when the current hits. Trust me, a loose connector is the fastest way to kill a lamp.
Putting them to work
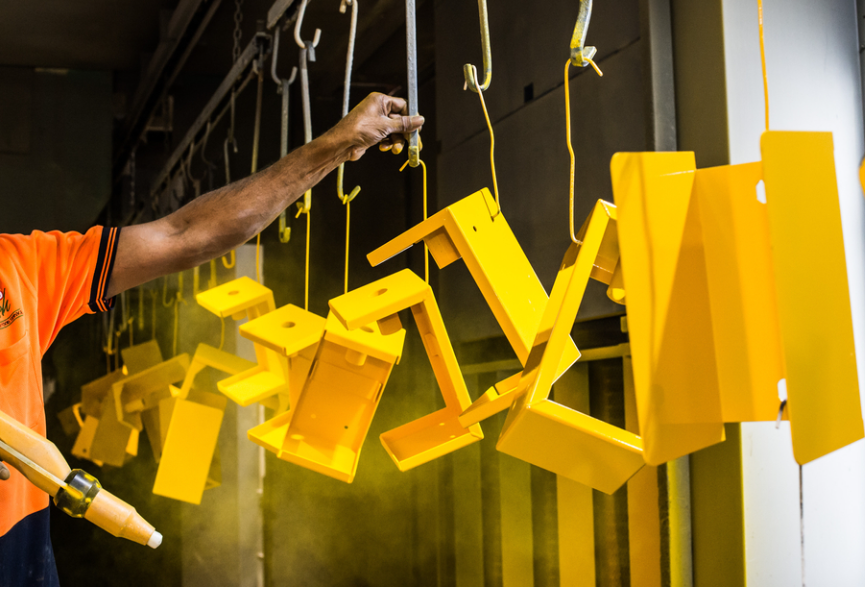
These are designed to be drop-in replacements. You just swap them into your existing ovens, hook them up to your controller, and you’re off. The real win, though, is how we wind the filaments. By keeping the tension perfectly consistent, we got rid of those annoying “hot spots” you see in cheap tubes. You get a smooth, even heat profile across the whole part. No weird patches, no uneven curing, and definitely no “orange peel” ruining your finish. It just looks clean.